Accessing Your Mentees
How to find your assigned mentees, view their profiles, and manage your caseload on the Community Site.
Overview
To access your mentees, go to Appointment Management and then click My Mentees.

What You Can See in My Mentees
Here, you can see:
- the mentee’s name
- the start date
This gives you a quick view of the young people currently linked to you.
Opening a Mentee Profile
To open a mentee’s profile, click on their name.
Inside the profile, you can view useful information about the young person, including background details that may help you prepare for sessions.
You will also see a description box.
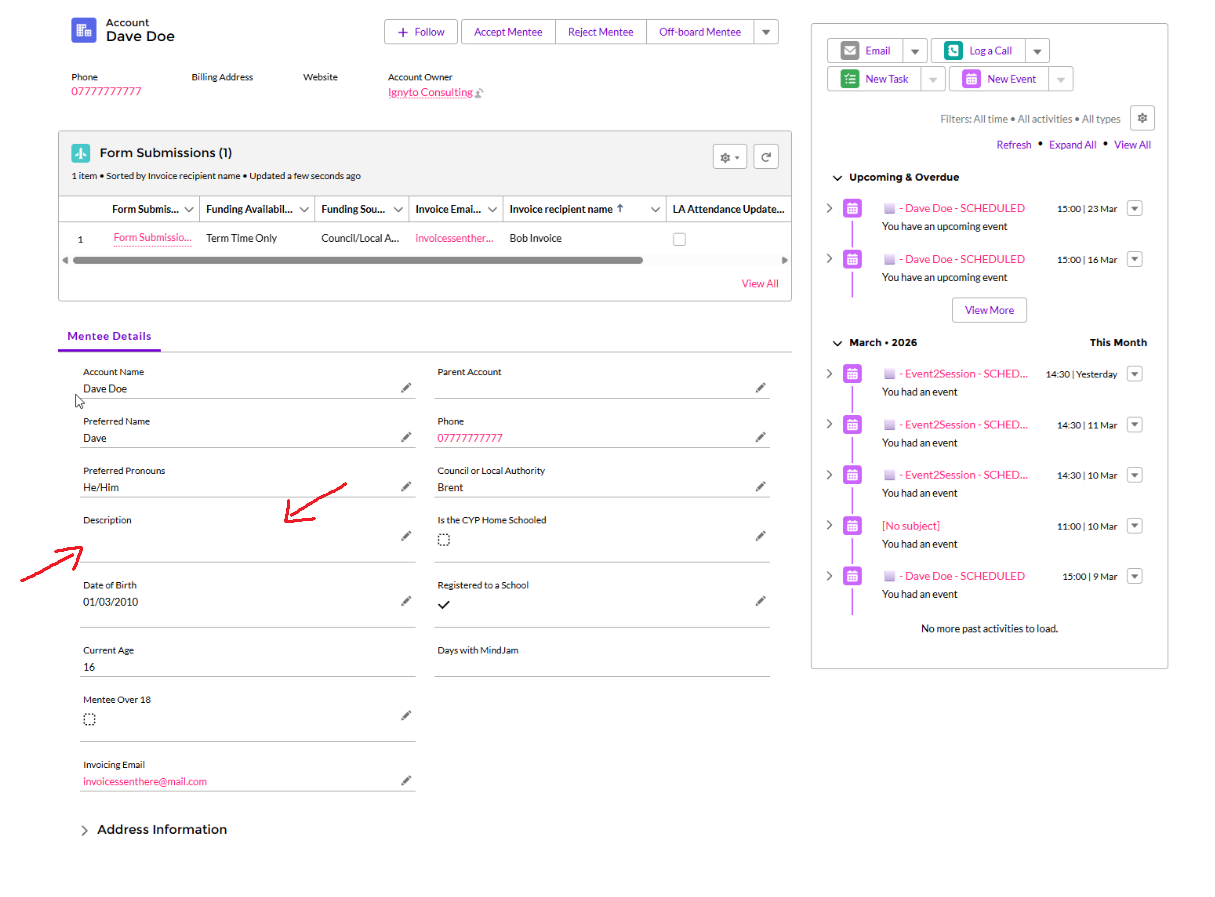
Viewing the Full Form Submission
From the mentee’s profile, you can also open the full form submission.
This shows the information completed by the parent, school, or local authority when the young person was referred.
This can help you understand more about the mentee before sessions begin.
Accepting or Rejecting a Mentee
The mentee profile is where you decide whether to accept or reject a mentee.
The Accept and Reject buttons are located at the top right of the mentee's profile.
What Accepting or Rejecting a Mentee Means
When a new mentee is assigned to you, the first step is to read their form submission carefully and attend the initial parent/carer meeting.
You should only decide whether to accept or reject the mentee after both of these steps have taken place.
The form submission on its own is not enough to decide whether the match is suitable.
Making Your Decision
If the mentee feels like a good fit, you should Accept them. Once accepted, they will be added to your caseload.
If the mentee does not feel like a good fit, you should Reject them. Once rejected, they will be returned to the assigning team so another match can be considered.
How New Mentees Are Added to Your Caseload
There are two ways new mentees can be added to your caseload.
When a Mentee Leaves
If you have already set up your operating hours, and one of your mentees leaves, their time slot will become available again.
For example, if you had a mentee every Monday from 9:00 to 10:00 and they leave, that Monday 9:00 to 10:00 slot will become free.
If you do not add a blocker to that slot, it will remain available in your operating hours. This means the Assigning Team can use it to place a new mentee with you. You do not need to do anything else.
If you have any questions, you can log a ticket with the Assigning Team using the ticket system.
When You Add More Availability
The second way is when your availability changes and you are able to take on more sessions.
If this happens, you should add the new time slots to your operating hours. This tells the system that you now have more unfilled availability.
Once those extra slots have been added, they will appear in the assigning system and the Assigning Team will be able to place new mentees into them.
Off-Boarding a Mentee
If a mentee is leaving the service, you can off-board them from their profile.
When you off-board a mentee, you will need to:
- Select a reason for why they are leaving the service
- Enter an end date for when they should be removed
Once submitted, the mentee will be removed from your mentee list from that date.
Important!
As part of the data transfer from Google Workspace to Salesforce, there could be some discrepancies, so please check your mentee list carefully.
If you have mentees that are no longer with you, please off-board them.
If you have new mentees that should be on your mentee list but are not, please contact Assigning at the address below.